Finger Knit Scarf
Table of Contents
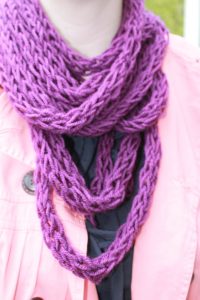
Who doesn’t love to indulge in the warmth of a close-woven scarf in winter? But, with commercial scarves costing a fortune, and knitting them by hand seeming like a tedious process for many, finger knitting may be the perfect option for you. Giving you an almost similar weave, albeit with a bit more room between the stitches, it employs only your fingers and yarn. No knitting needle required!
How to Finger Knit a Scarf
The following step-by-step tutorial is ideal for beginners. It’s also a good way to introduce your kids to the wonderful world of knitting.
Supplies
- Yarn (medium to bulky weight but not lightweight or superfine) in colors of your choice
- Scissors
Instructions
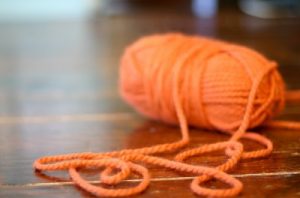
Step 1: Find the open end of the skein you will be working with.
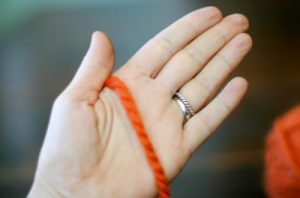
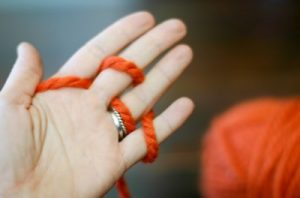
Step 2: Hold one end of the yarn between your index finger and thumb, palm facing towards you.
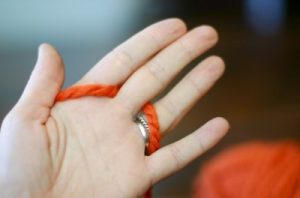
Step 3: Wrap it under your middle finger, over your ring finger, and under your small finger.
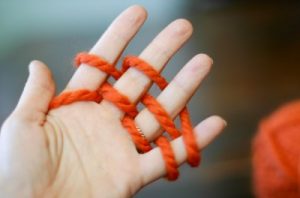
Step 4: Bring it back to the starting point by weaving it over your pinkie, under ring finger, over middle finger and finally under the index finger.
Step 5: Repeat the over and under intertwining method twice more until you have what appears like 2 broken lines of yarn across your fingers as shown below.
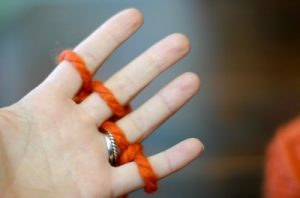
Step 6: Pull up each loop from the bottom yarn row and cross it over the top row, and over your fingertips.
Step 7: There should only be 1 row left along this side of your fingers. Push the loops down a bit.
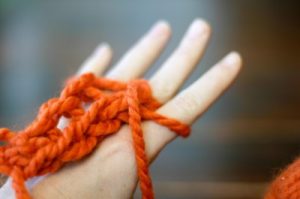
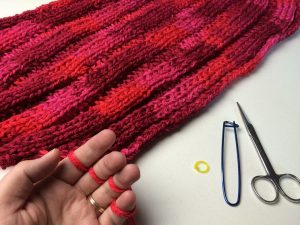
Step 8: Repeat steps 3-6. The back side of your hand should look like this.
Here is another view of the strip from the reverse side.
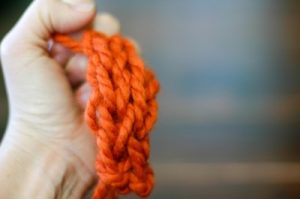
Step 9: Once you reach the desired length, tug a bit on the end; the final product should resemble a rope.
Step 10: Cut off the tail end and weave it into and out of the loops around your fingers.
Step 11: Take the yarn off your hand and tug the end again to tighten everything up.
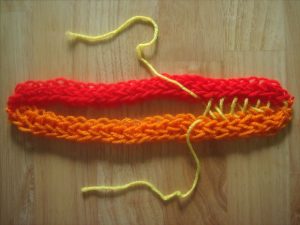
Step 12: You are finished with your first finger knitted chain. You can make another one in a different color and lace them together in a neat criss-cross pattern with matching yarn.
Step 13: Pull on the ends of the criss-cross yarn tightly to draw the 2 strips close together and knot them up to secure.
Step 14: Attach more such chains in colors of your choice until you reach the desired width.
You may make a rainbow scarf in this way and add yarn pom poms along the edge to decorate.
Video Tutorial for Finger Knitting a Scarf
Finger Knitting Scarf Patterns
For those chilly winters, make yourself a cozy scarf in this beautiful design.
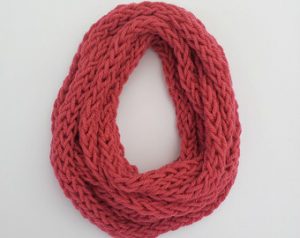
Finger Knitting Infinity Scarf Pattern
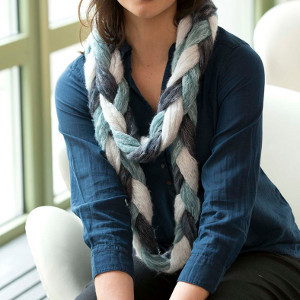
A braided scarf looks classy with a matching top.
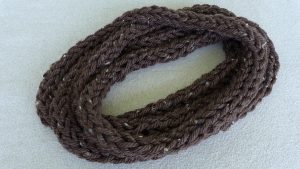
It allows you to make a chunky loop scarf that provides complete protection for your neck while creating a style statement. Men can also wear it.
Finger Knit Circle Scarf Tutorial
Make your finger knit scarf thicker with the help of this video tutorial. If you want to make something wider such as a blanket or a cowl, then you can find some pointers in here as well.
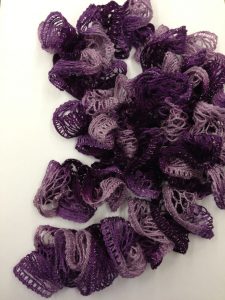
This beautiful ruffle scarf can be a glamorous addition to your winter wardrobe.
Finger Knitted Ruffle Scarf with Sashay Yarn
A rope scarf such as this one can be made either with chunky or sashay yarn to be worn at parties without covering up much of your outfit. It is quick and takes just about 20-30 minutes to finish.
Finger Knit Rope Scarf Project
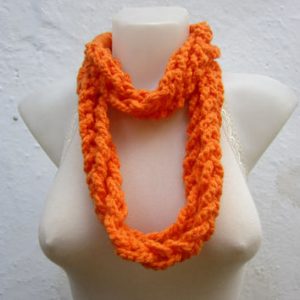
Here is a design that resembles large chains and is stunning to flaunt.
How To Make a Finger Knit Chain Link Scarf
The directions are easy to follow and we are sure that the holiday season would have you hooked onto the enviable projects above for the most part. Good luck as you glide your fingers in and out of vibrant yarns, weaving magic! If you are gifting it to someone, let them guess the technique used. They are sure to find it hard to tell.
Related Articles
Join Our Mailing List
Sign up to get the latest updates, along with fresh patterns and tutorials, right to your inbox

