Picot Stitch
Table of Contents
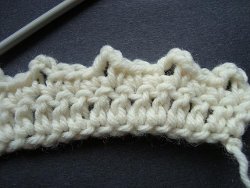
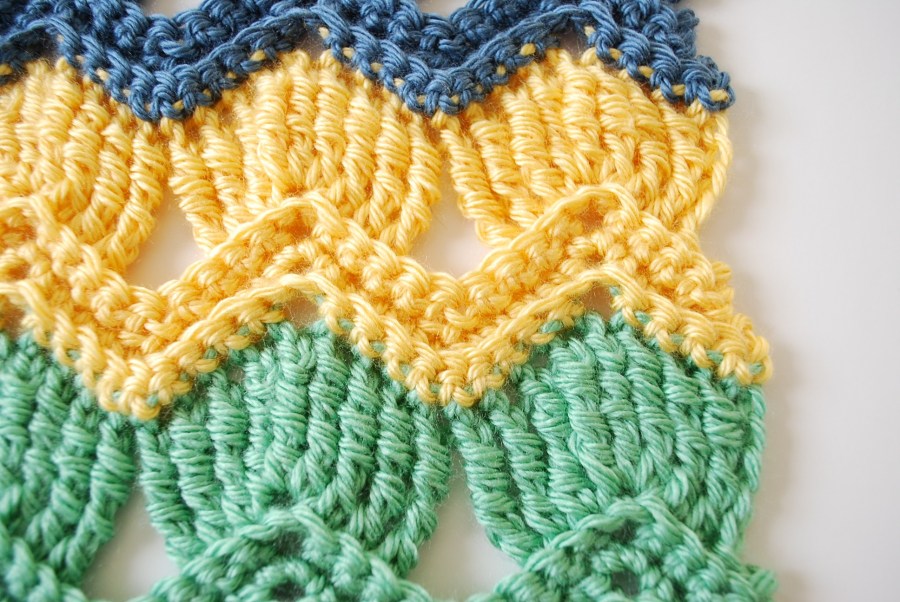
The picot is a narrow pointy stitch that gives a wonderful edging to your favorite garments, tablecloths or doilies. It can also be combined with various other crochet stitches to create a marvelous impact. Here is a simple tutorial to guide you through the basic picot stitch, along with a few ideas about where to use it.
Crochet Picot Stitch Instructions
You can start the stitch after working a row of single or double crochet or at the border of a finished knit or crochet item, for an edging.
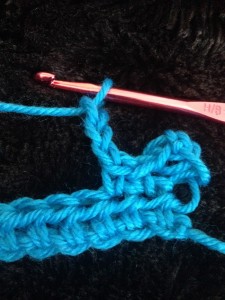
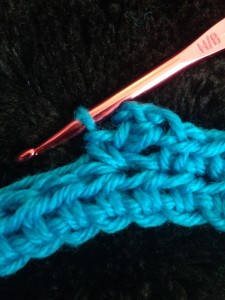
Step 1: Chain 3 at the point where you want to begin.
Step 2: Insert the hook into the back bar of the first chain.
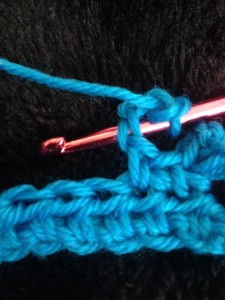
Step 3: Yarn over.
Step 4: Pull through all the loops on the hook.
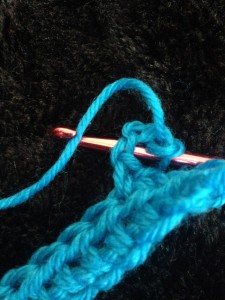
Step 5: Single crochet in next stitch. You have made one picot stitch.
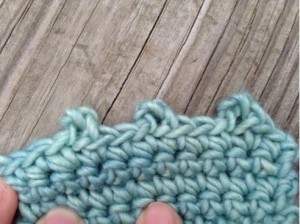
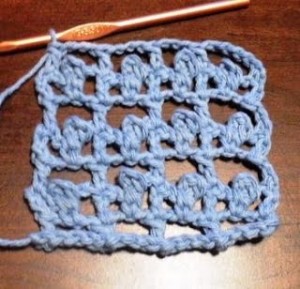
Continue working in the same manner for the entire row. Here is how it would look with a couple of single crochets between each picot.
To create larger and more open picot stitches, you can increase the number of chains in the first step. If you want wider and flatter picot stitches make one single crochet in the first step before chaining 3, and then proceed as before.
How to Crochet a Picot Stitch: Video
Picot Crochet Stitch Variations
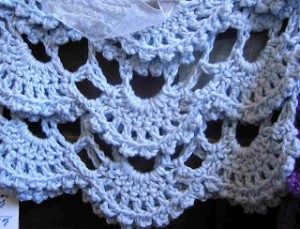
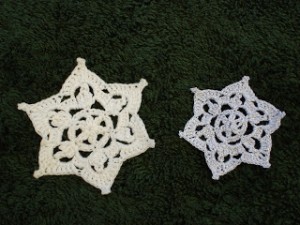
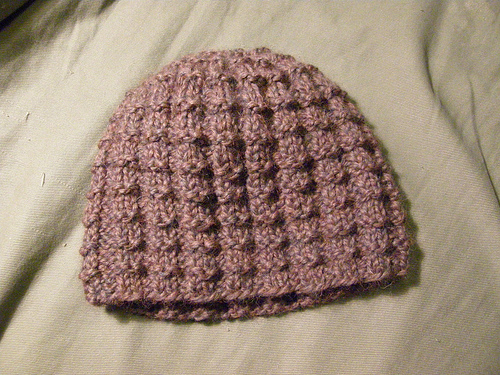
The elegant stitch offers interesting variations in the form of picot V, picot trellis and picot shell stitches. The winkle picot gives a dense yet delicate pattern to hats and baby booties. The delightful texture of the wedge picot stitch makes it desirable for crocheting baby afghans and shawls. Check out some other types as well:
Some Ideas for What You Can Do with Picot Stitch
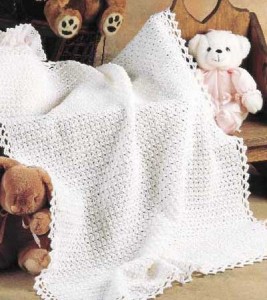
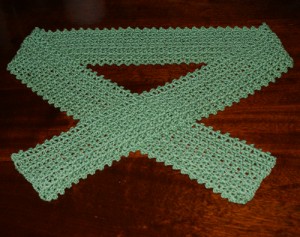
The stitch looks classy on ruffles of skirts, shrugs, baby blankets and scarves.
You are going to have a fun time sharpening your hand crocheting skills with the directions given and linked above. Do keep us posted on your progress and projects.
Related Articles
Join Our Mailing List
Sign up to get the latest updates, along with fresh patterns and tutorials, right to your inbox

