Brick Stitch
Table of Contents
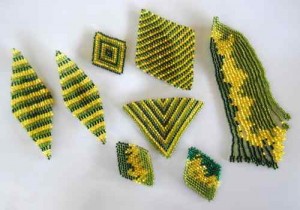
Brick stitch, a popular beading technique, resembles the peyote beading in procedure; but unlike the latter, the beading columns produced by brick stitch are turned sideways. It is named after the pattern of the off-set bead rows that resemble a brick wall.
Although it might look difficult, the stitch is quite easy once you learn the basic procedure. Here is how to work the brick stitch to make attractive jewellery and other accessories at home.
Brick Stitch Step-by-Step Instruction
The beginning row of the stitch is worked in the ladder stitching technique, in which the beads are sewn in a manner, so they lay side-by-side in the row. The next layers are sewn on this base row, working through the stitches from the earlier row. The direction given below includes the basic process for working ladder stitch as well as the next rows:
Ladder Stitch
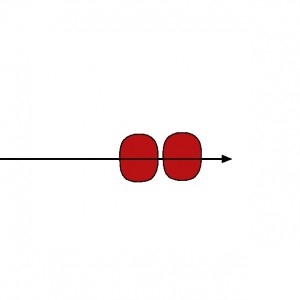
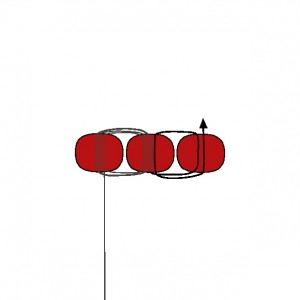
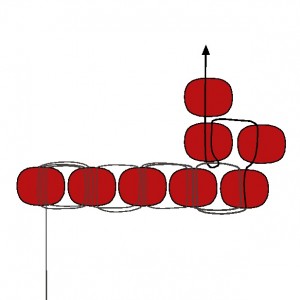
Step 1: First, string two beads to make a bead ladder. Make sure to leave a 6” long thread tail.
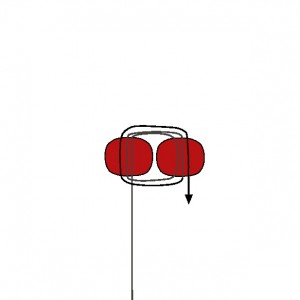
Step 2: Pass the thread back through the two beads pulling the thread tightly, so the beads are next to each other. Now, pass the thread up again through your first bead and then back down through your second bead.
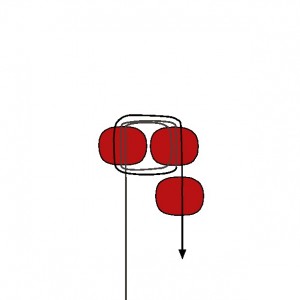
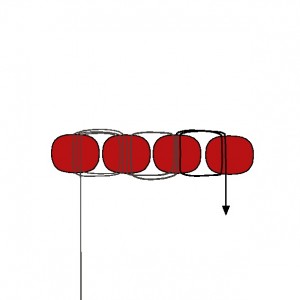
Step 3: String another bead as shown in the diagram below.
Step 4: Then, pass the thread down through the bead just before the new one, so it sits properly next to the earlier beads. Next, pass your thread up through the third bead again.
Step 5: String the fourth bead as you did in step 3, passing the thread up through the third bead, so the new one is tightly set beside the three previous beads. Then, pass down through the fourth bead again as before.
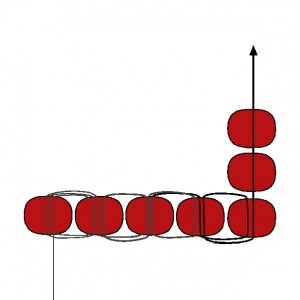
Continue adding new beads in the similar manner until the basic row (bead ladder) is as long as you want it to be. Then you need start working the second row.
Adding a New Row
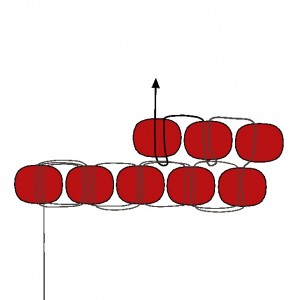
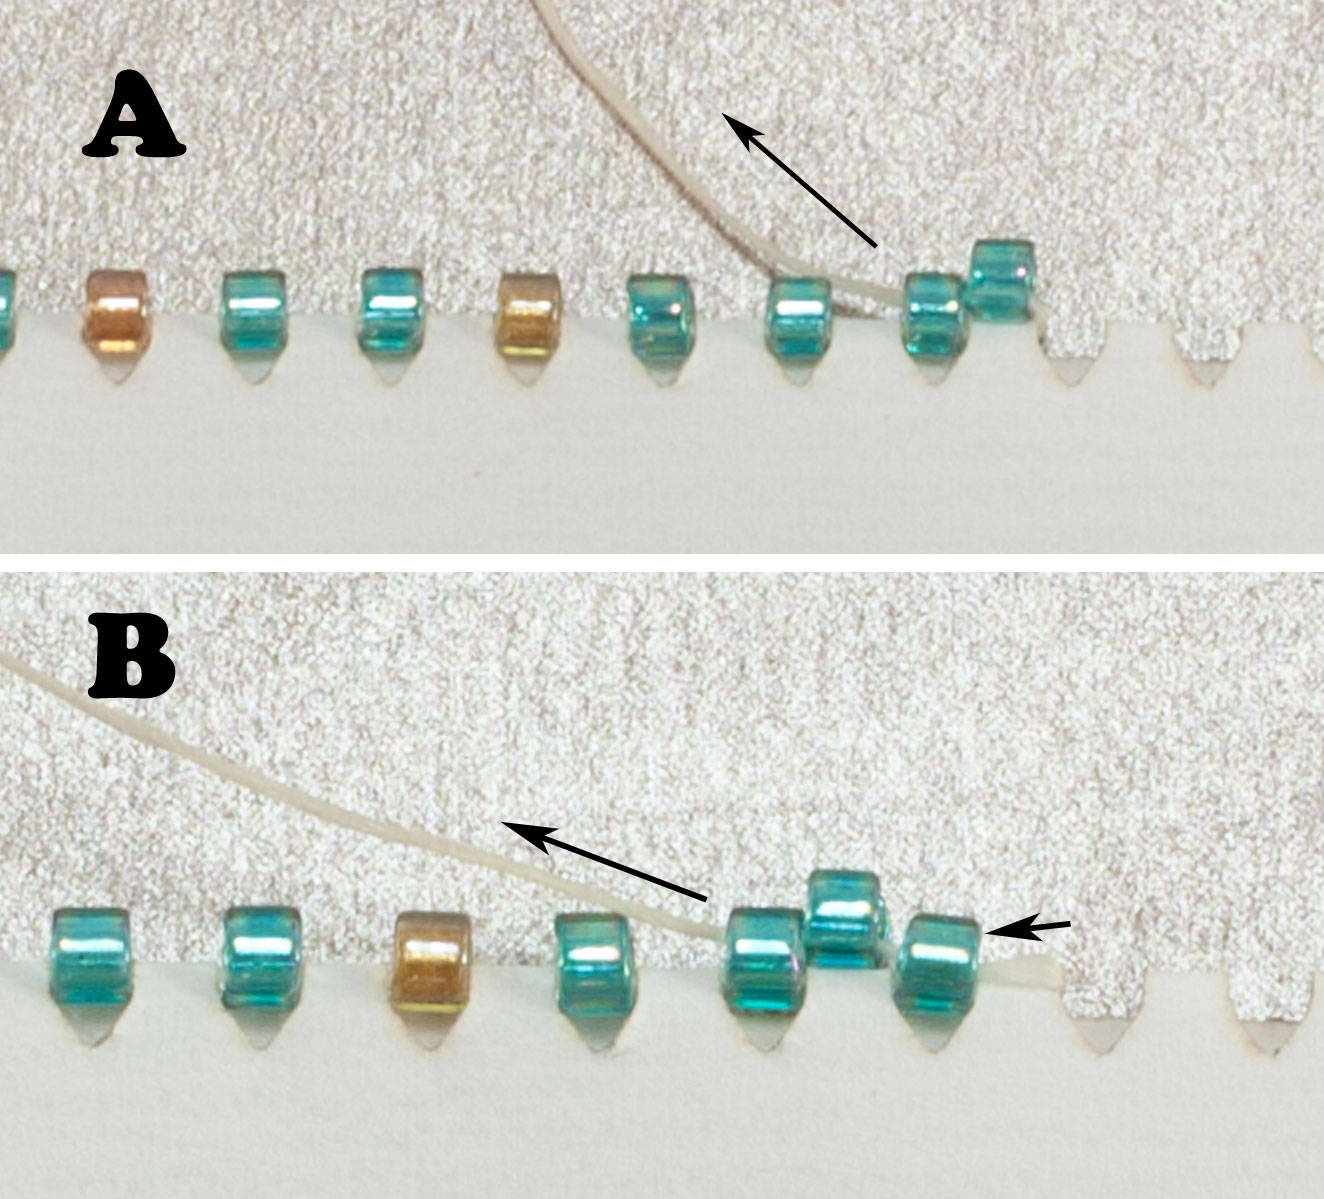
Step 6: String two new beads to start the second row.
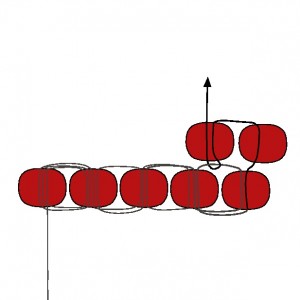
Step 7: Find the thread loop holding the last 2 beads in your previous row and pass the thread through it. Next, pass back up through the bead you just added, pulling the thread tightly, so all the beads are in their proper position.
Step 8: String another bead as shown is the picture.
Step 9: As before, pass your needle through the loop between the 2 beads in the last row, passing back up through your last bead.
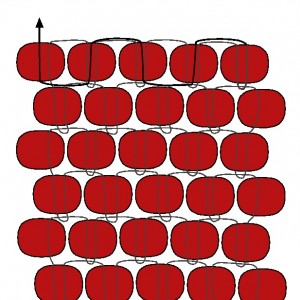
Repeat steps 8 and 9 until you finish the row. Then, add two more beads as you did in step 6 and repeat steps 7 to 9. Continue working in this manner until your work reaches the desired length.
Finishing Off
Once you are done adding new beads to the work, weave the thread up and down repetitively through all the beads in your last row.
Cut the extra thread neatly using a pair of scissors once you reach the end of the row. You have now learnt working the basic brick stitch.
Brick Stitch Increase and Decrease
There countless patterns to work with the brick stitch, like the feather and diamond patterns that require you to increase or decrease the rows as you advance. Increasing or decreasing can be achieved easily just by raising or reducing the number of beads you add in each new row. Practice the above basic procedure before you can advance to the complex variations requiring increasing or decreasing rows.
The attractive brick-like pattern created by the stitch has inspired various embroidery and crochet techniques that produce similar patterns. The beading procedure is ideal for making chunky bracelets, necklaces, earrings and other accessories. Working the stitch around a bead or a ring are popular methods for making pretty hoop earrings. It is a common choice for making Christmas ornaments like Santa clause hangings, Christmas tree hangings and holly earrings as well.
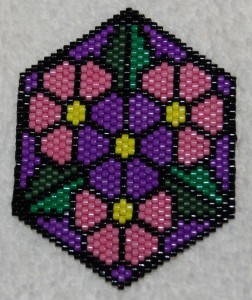
Brick stitch is a popular choice for producing specific patterns like geometric shapes, animals, flowers, leaves, heart and cartoon characters.
Related Articles
Join Our Mailing List
Sign up to get the latest updates, along with fresh patterns and tutorials, right to your inbox

