Shibori Dyeing
Table of Contents
Shibori is a simple Japanese process of dyeing in indigo that has become a hot favorite among the trendy chic in recent times. The enchanting tie-dye method can be done in a variety of techniques.
DIY Shibori Tie Dye: Step by Step Tutorial
The lovely design suits almost any item of your wardrobe or accessory. Given here is a tutorial on how you would do it in the ne-maki technique on a piece of fabric that can later be made into a stylish tote bag.
Materials
- Thick white cotton fabric
- Rubber bands
- Round pebbles or beads of different sizes
- 400g salt
- A large bucket
- Scissors
- Stick for stirring
- Indigo fabric dye and fixative
- Warm water
- Bucket of hot water
Instructions
- Cut the fabric into a strip of 150cm. by 60cm.
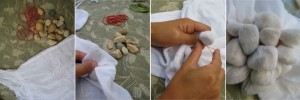
- Hold one pebble or bead against the lower right corner of the back side of the cloth considering that the shibori design will cover the frontal part the bag that has an area of approx. 46x40cm.
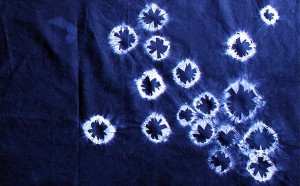
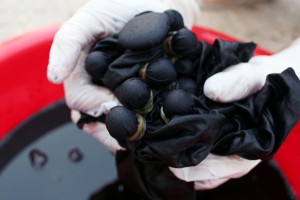
- Turn around the fabric and secure the pebble tightly to the cloth with a rubber band. The bondage will create the circular white patches in the shibori pattern as it blocks the die from entering inside.
- Turn the fabric over and repeat the tying process for another pebble placed right next to the previous one.
- Add as many pebbles as you prefer to complete the desired design on the bag. The spacing between the pebbles also depends on how crowded you want your pattern to be.
- Go outdoors shielded with an apron and latex gloves. Add 5 -7 liters of warm water to the bucket. Add the salt.
[Note: The amount of salt depends on the type of dye you are using. If you are buying a shibori dyeing kit, then adhere to the directions on the pack for mixing the dye. Some custom made dyes do not even need adding salt.]
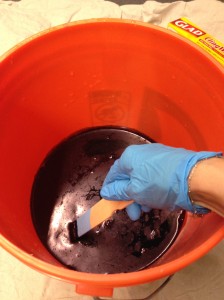
- Add the dye and the fixative. Stir well without splashing until all the components are dissolved. Cover the container.
- Soak the fabric in the other bucket filled with hot water. Squeeze the water out.
- Gently submerge the cloth in dye. Leave on for 20-30 min stirring every 2 min. The more the sitting time, the darker the color. Remove fabric from the dye.
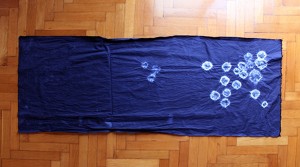
- Rinse with cold water until the water becomes clear. Remove the rubber bands. The unique pattern should be discernible.
- Rinse further with warm water and detergent. Hang to dry away from the sun. Iron the fabric well before you can move on to making your tote bag.
You can clean the bucket with diluted bleach if needed.
How to Shibori Tie Dye: Video
Check this video for learning the steps of ne-maki and Itajime methods of shibori.
Other Types and Techniques of Shibori Dyeing
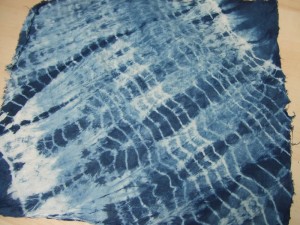
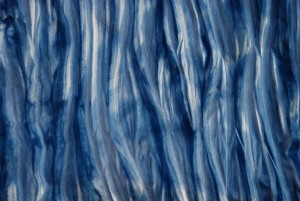
A number of techniques can be tried for incorporating a magnificent diversity in your clothing. In Mokume shibori, the tie dye pattern resembles mokume or wood grain. Here the cloth is gathered tightly by parallel rows of basting stitches before being dipped in dye.
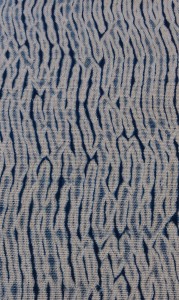
The below technique involves wrapping the chosen fabric with twine around a PVC pipe. The textile is then compressed before resist dyeing to form an elaborate textured pattern.
The woven dyeing method produces a soft dyed image of a rigid woven pattern that is included while weaving cloth in the loom.
Few More Things to Make with Shibori Dyeing
The easy tie dye pattern looks dapper on bedding, especially, bedspreads, sheets, duvets. Try it on kimonos, sarees, rugs, ribbons, even yarns for an eye-catching effect. Step out of the conventional color code by soaking your tied napkins and jeans in rust or green dyes.
By now, you must be dying to try the technique at home yourself. Use of natural dye is recommended. Keep the tools handy before starting with the project or you could end up in a big indigo mess.
Related Articles
Join Our Mailing List
Sign up to get the latest updates, along with fresh patterns and tutorials, right to your inbox

